Overview:
Custom fields allow you to capture additional information specific to your organization’s needs, which will be visible on the Update Asset page for improved asset tracking and management.
Steps:
Add Custom field
1. Log in to Sherpadesk with valid credentials.
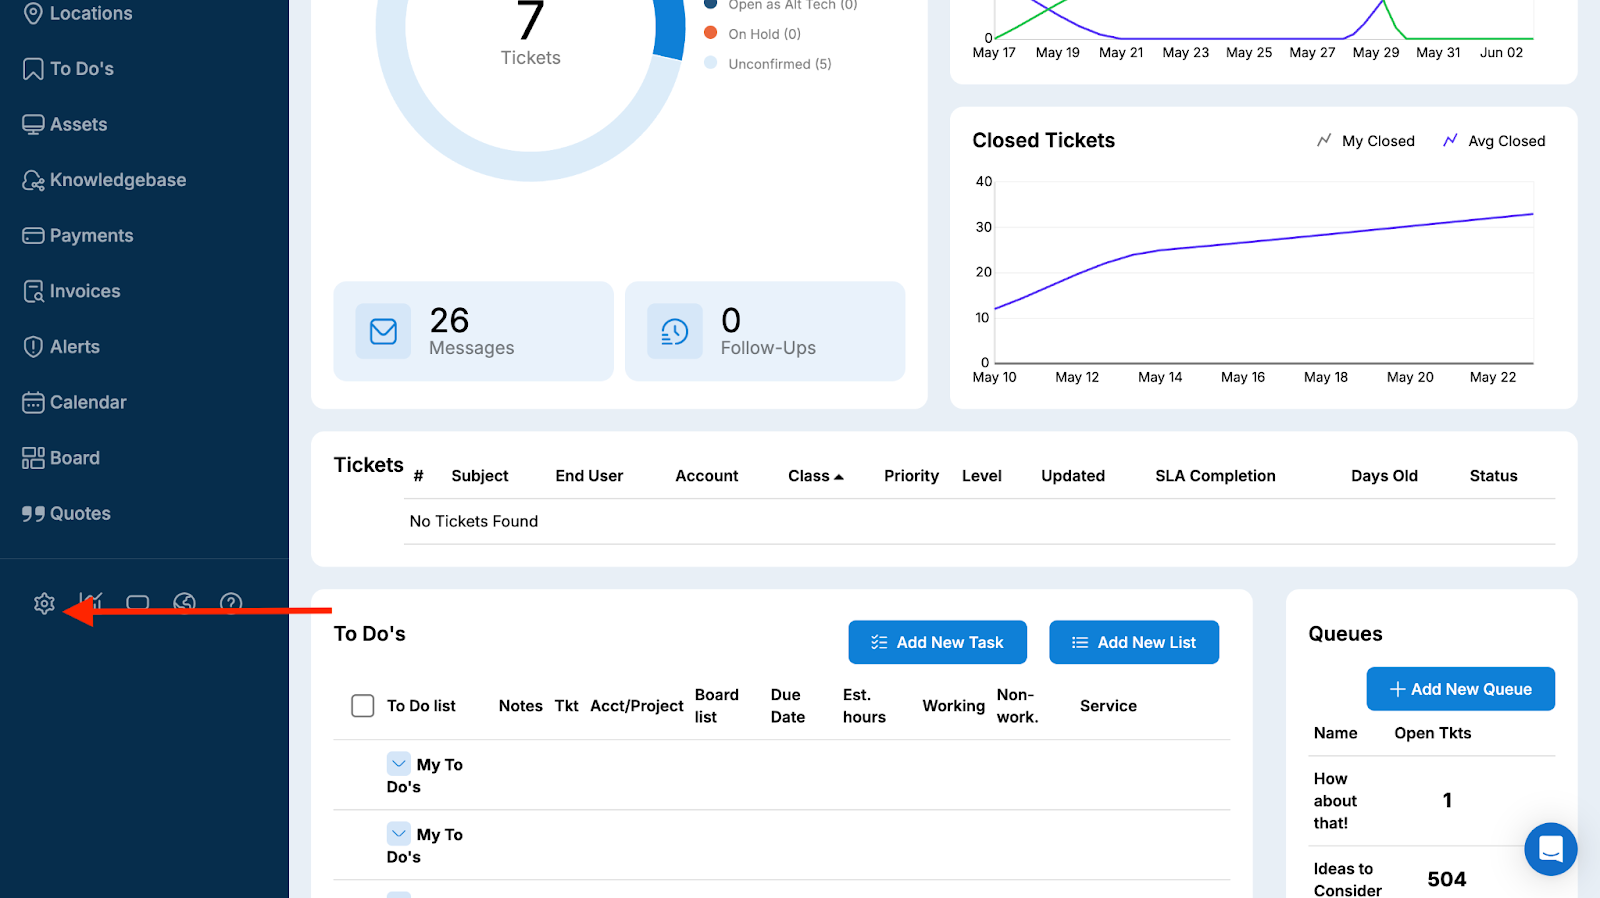
2. Click on the “Settings” option in the horizontal menu.

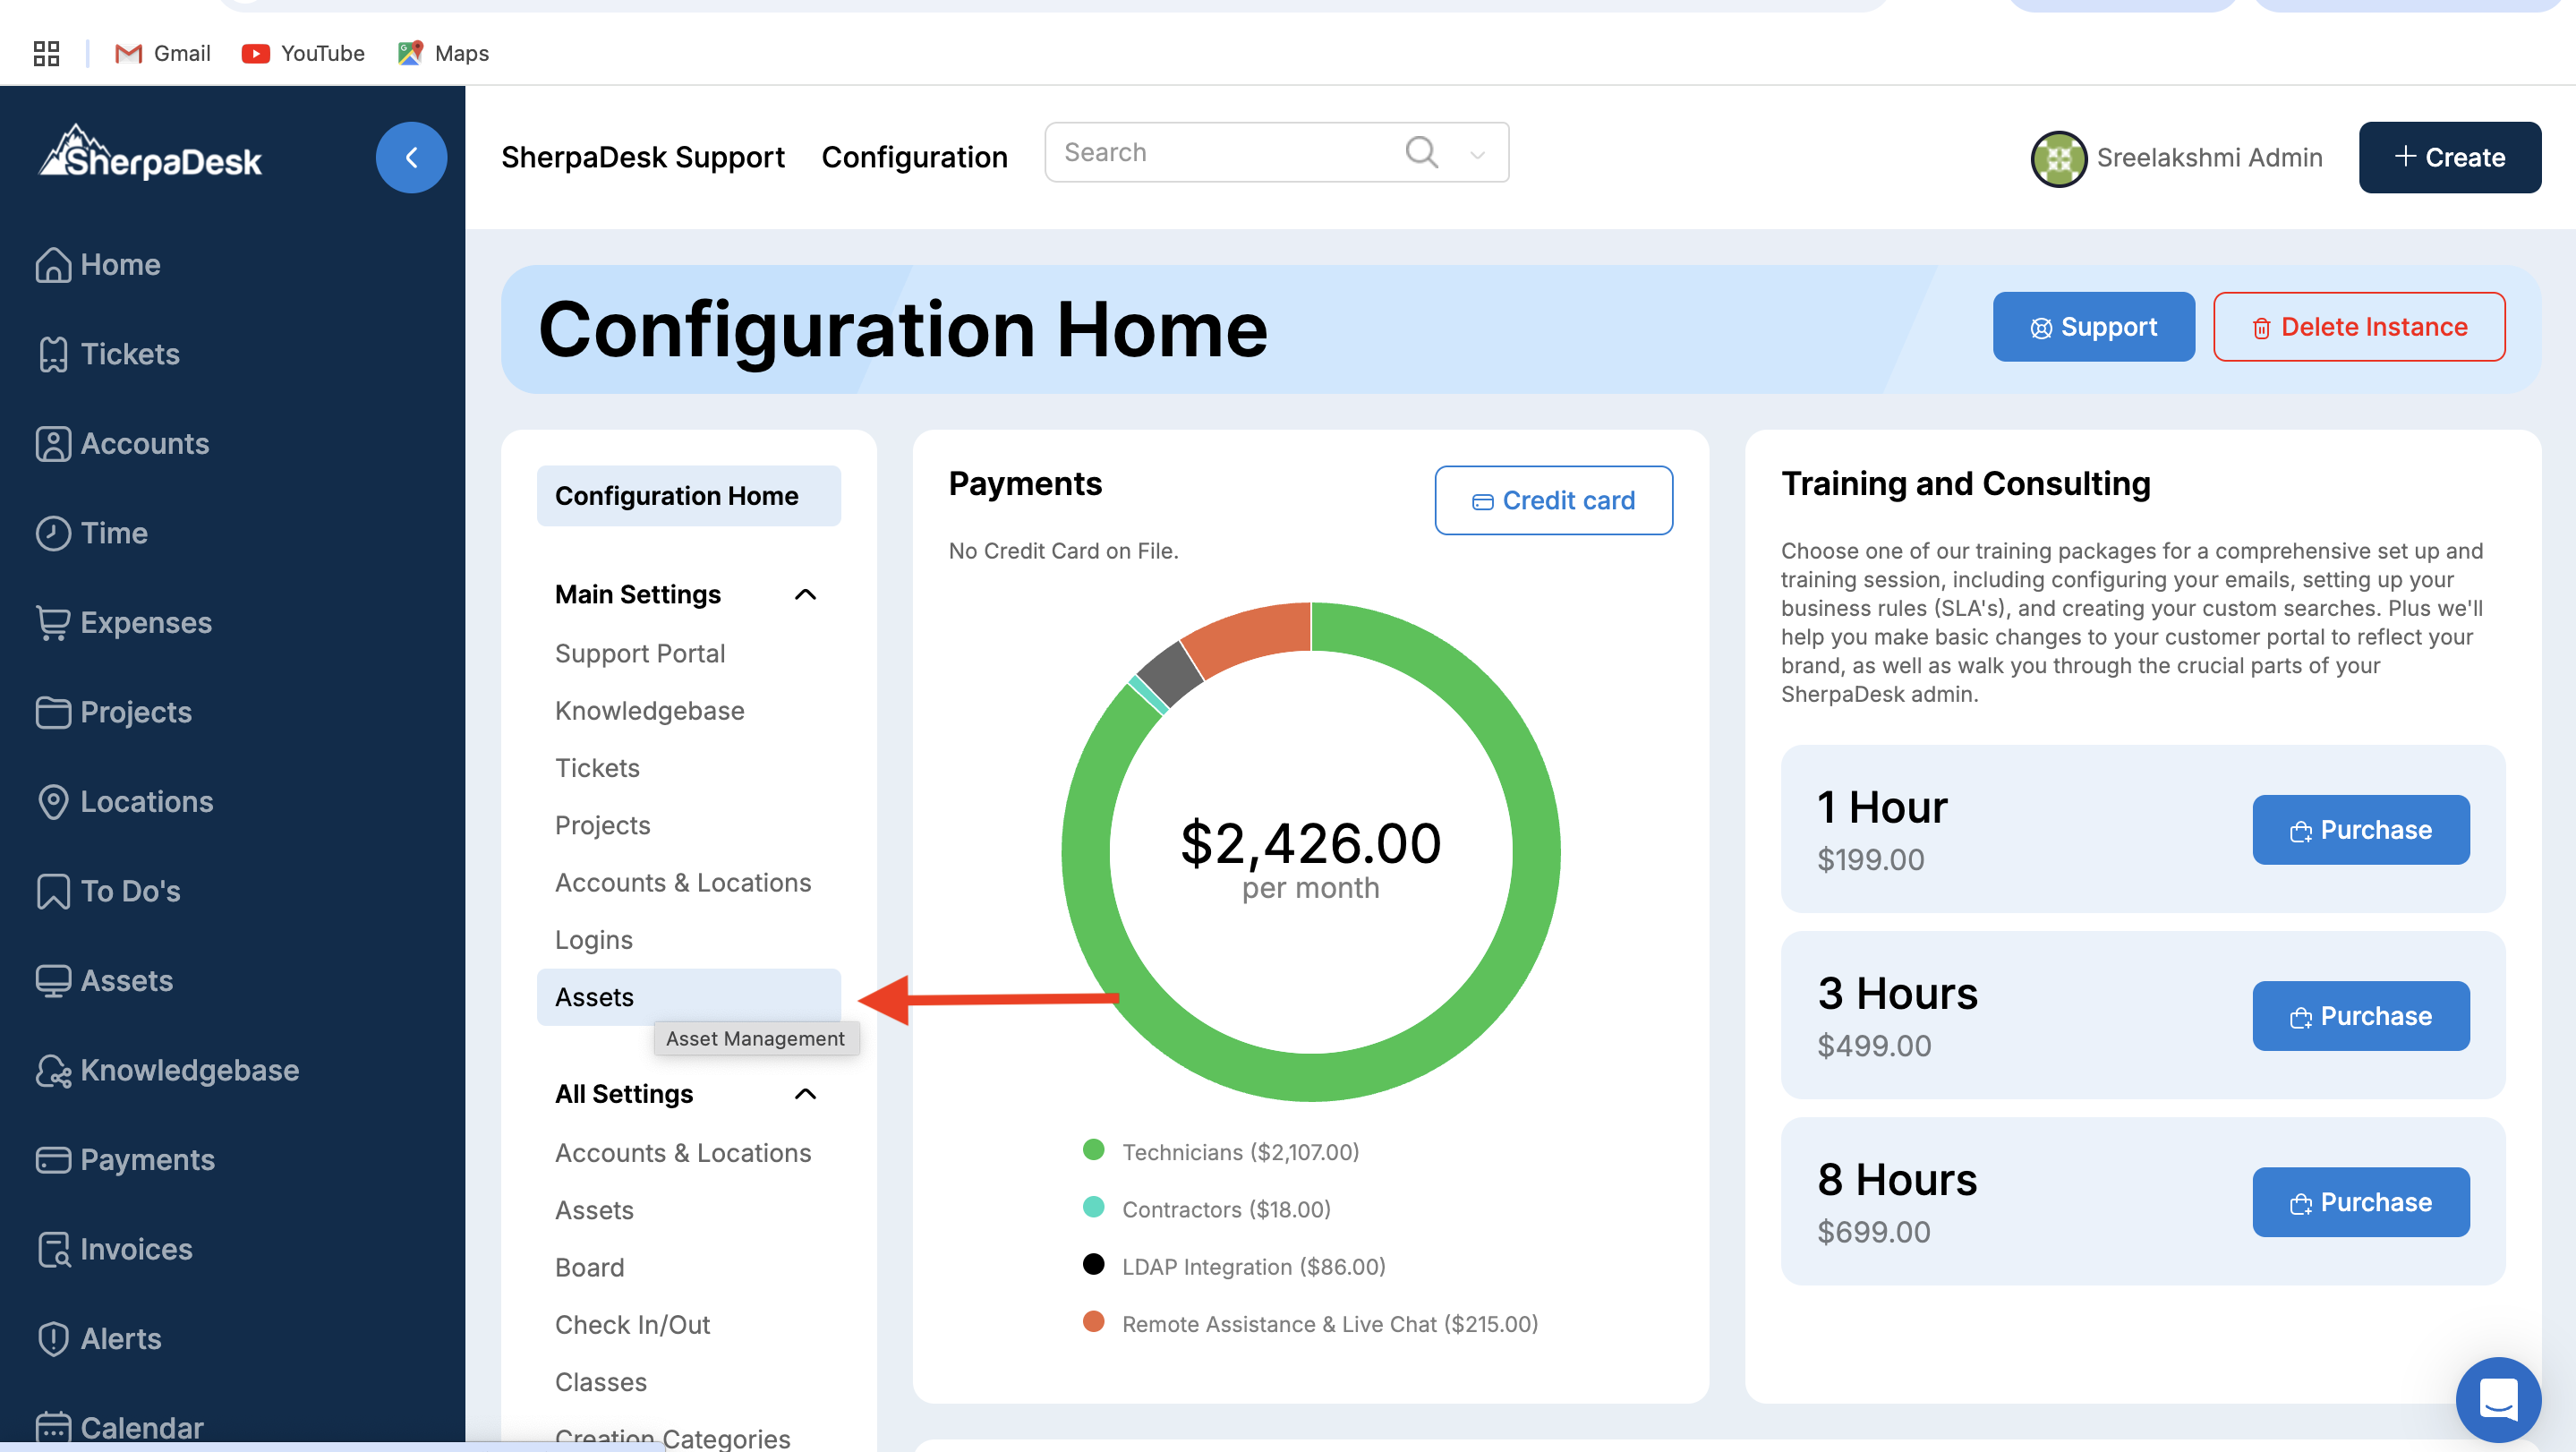
3. Click on “Assets” on the Configurations page.

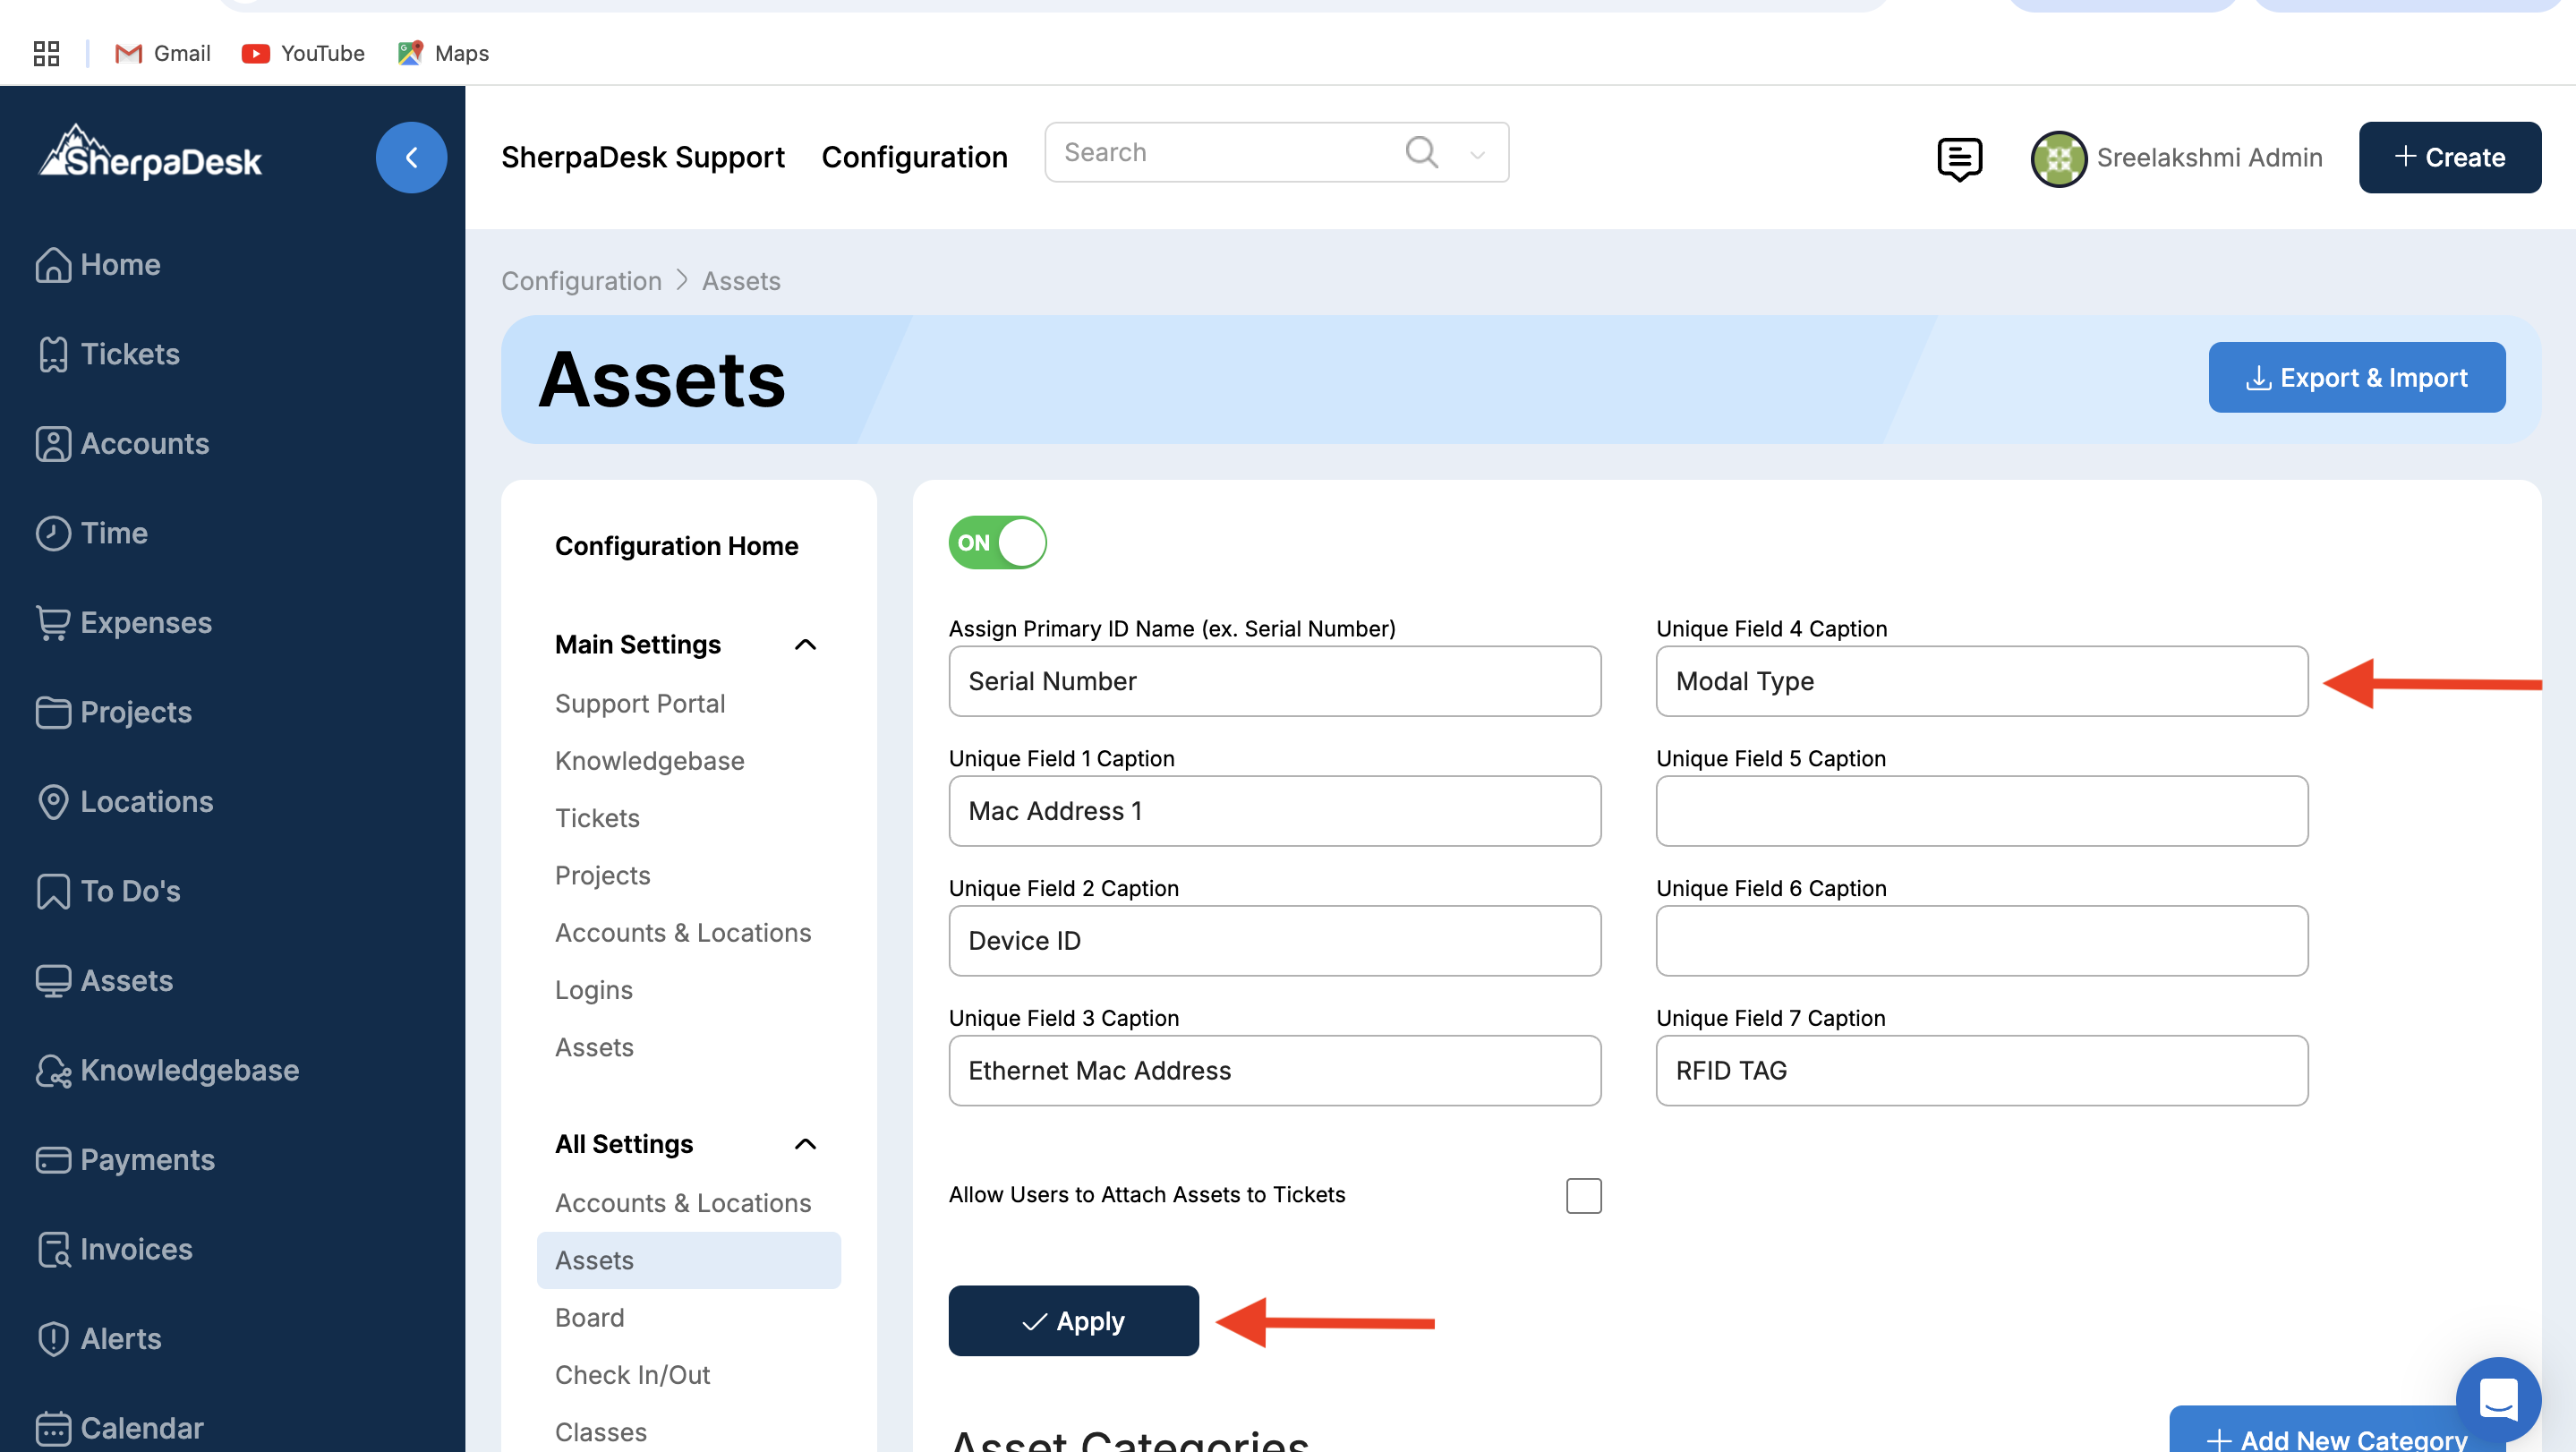
4. Enter the Caption in the field.
5. Click on "Apply" button to add the custom filed.


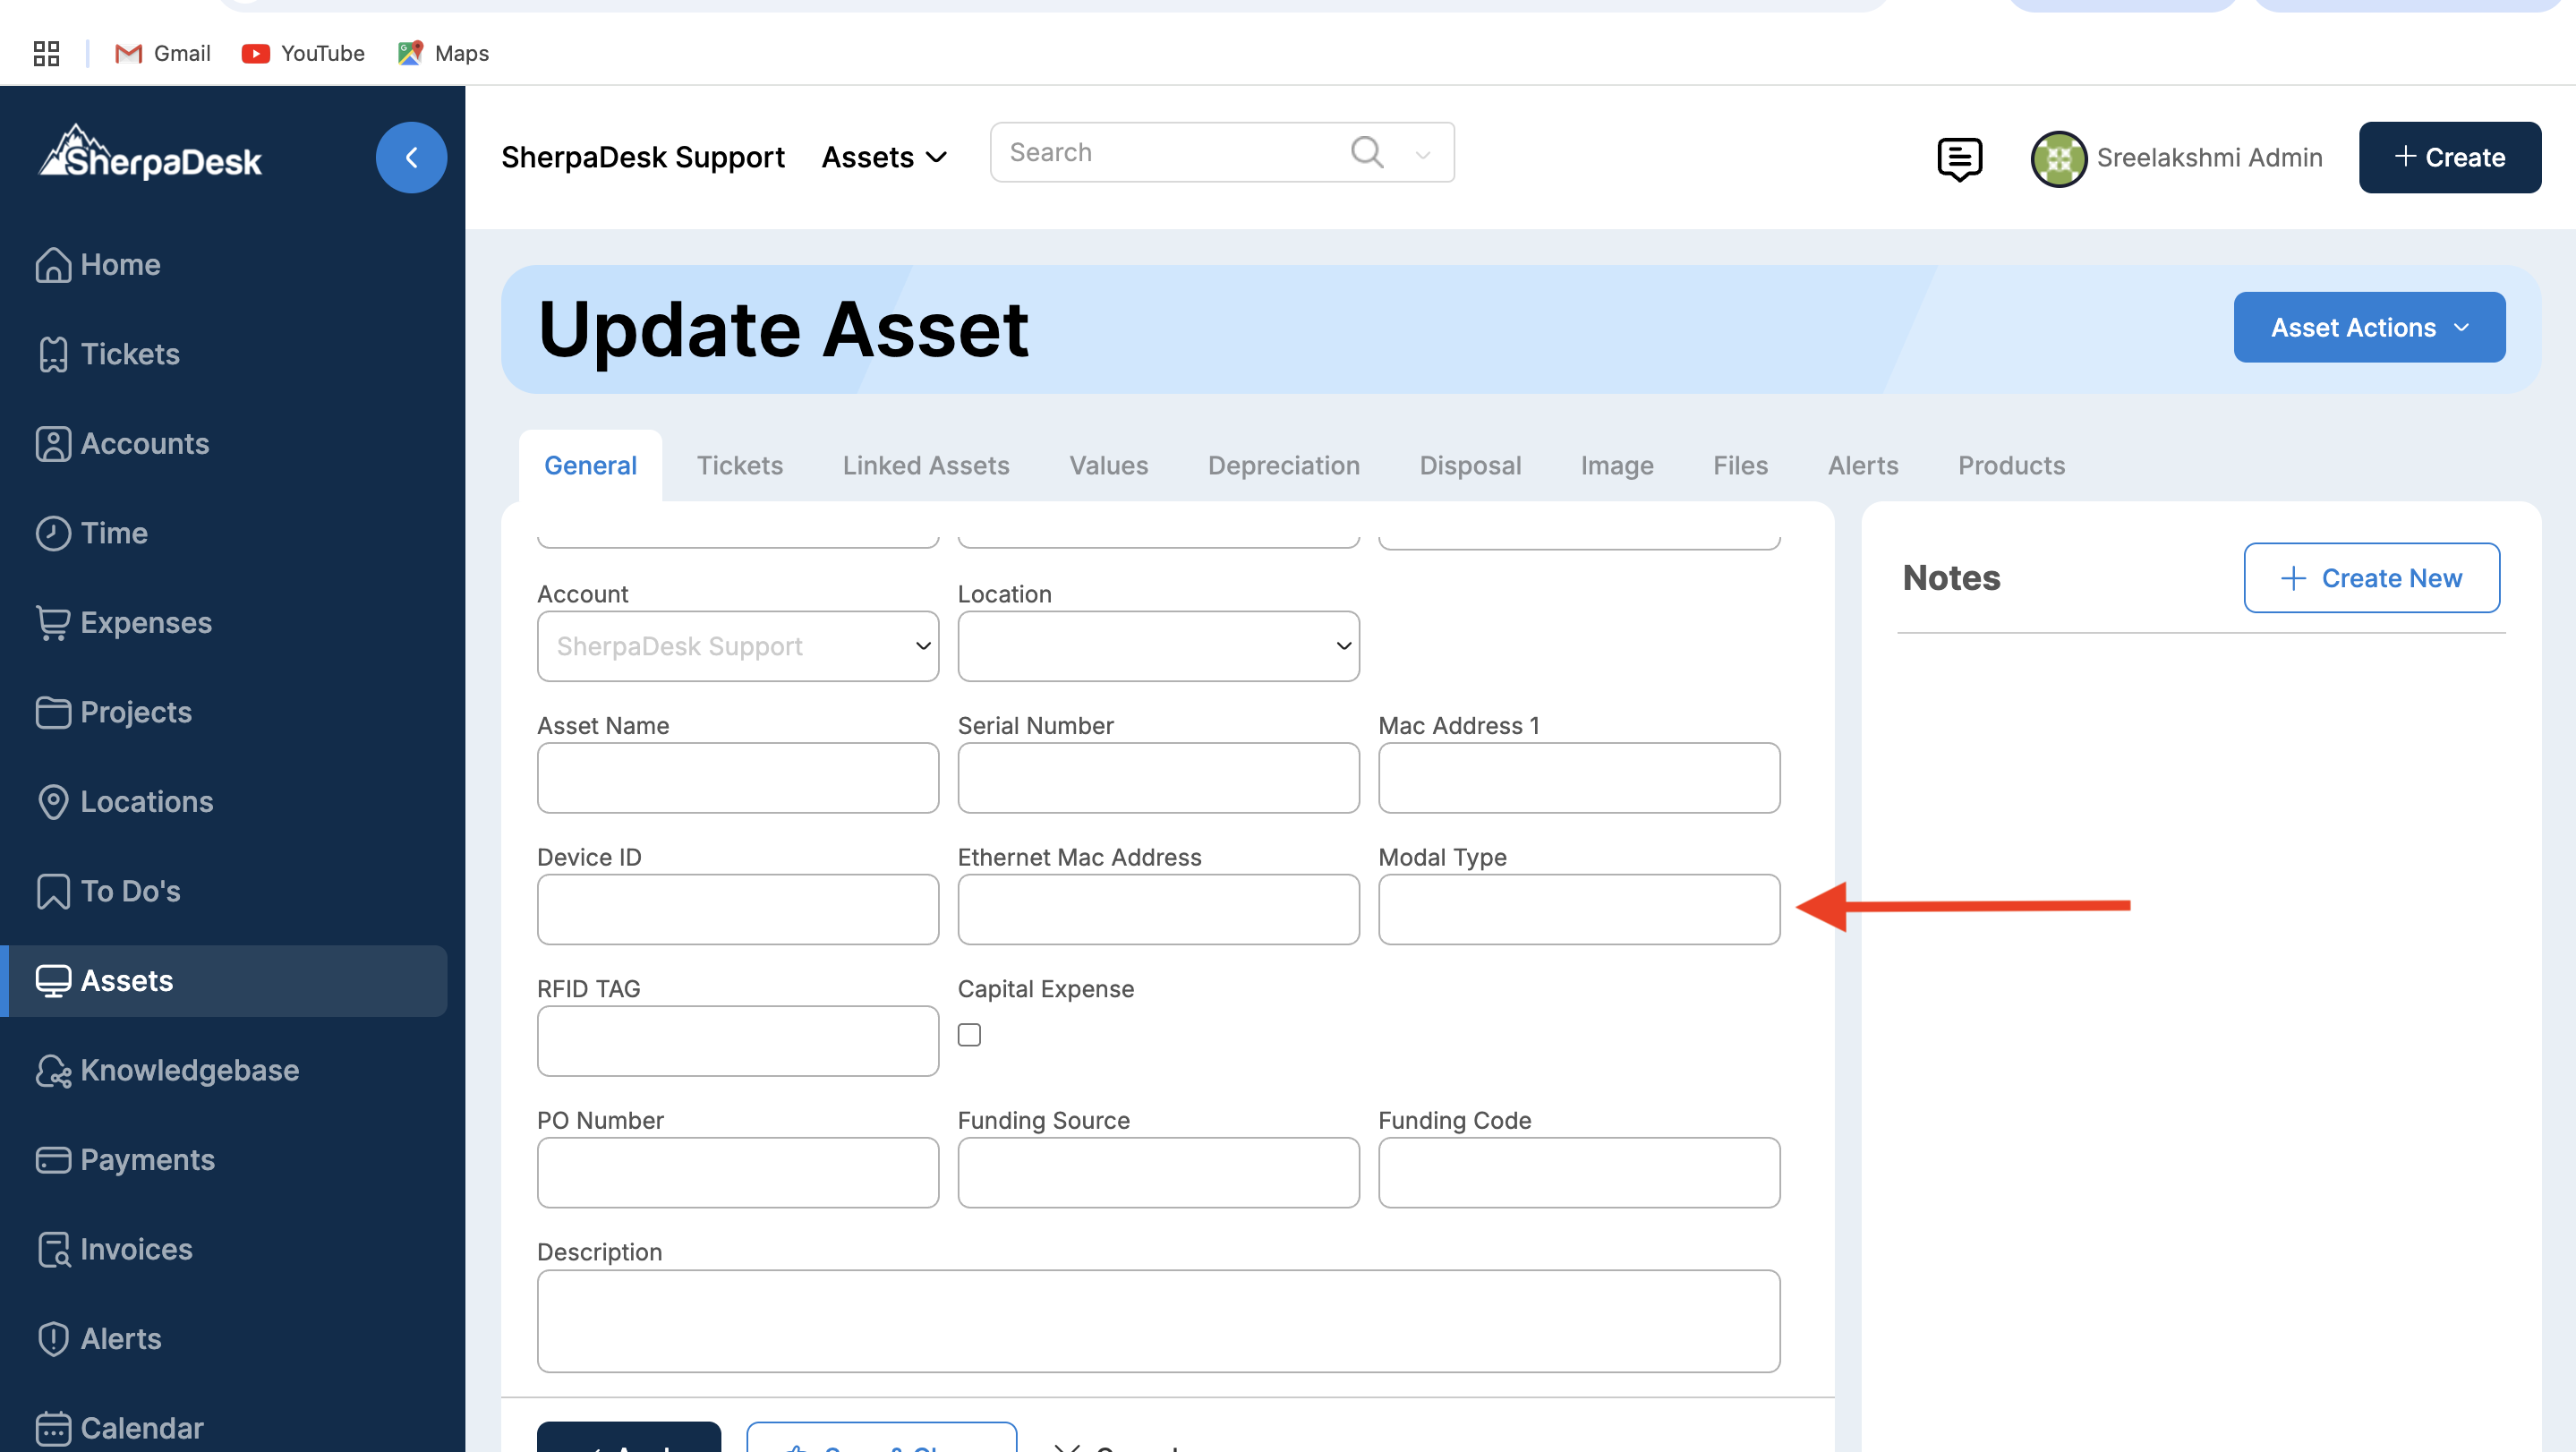
The added custom field is displayed on the Update Asset page.